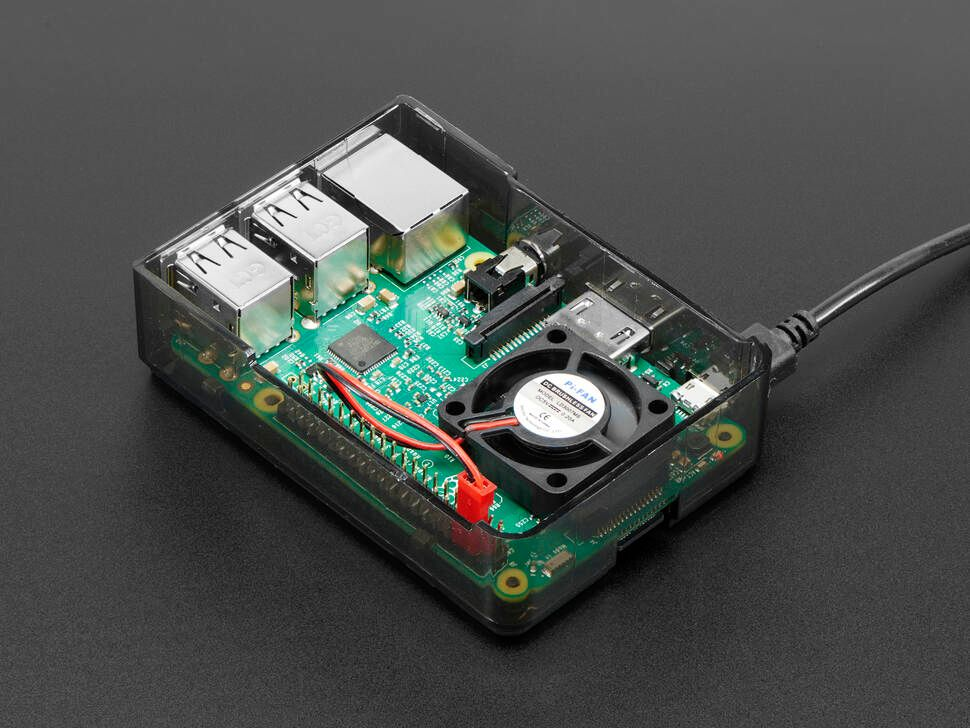

The latest Raspberry Pi 4 comes with an option of 4G ram. This truly makes the Raspberry Pi a workable personal portable computer. However, the temperature could go pretty high when it is implementing intensive tasks. The simplest solution would be adding a fan to cool it down, but it makes no sense to let the fan running all the time.
In this tutorial, we are going to build a auto start/stop 5V Fan for the Raspberry Pi 4 based on the temperature of CPU.
Preparation
You might need the following things other than a Raspberry Pi:
- a 5V Fan, ideally with a case that has the slots for the fan;
- a transistor to work as a electronic switch, I used NPN transistor;
- a 1kΩ resistor to protect the transistor from overheat;
- a breadboard for prototyping (not necessary, but recommended)
- few jumper wires (mainly male to male, male to female)
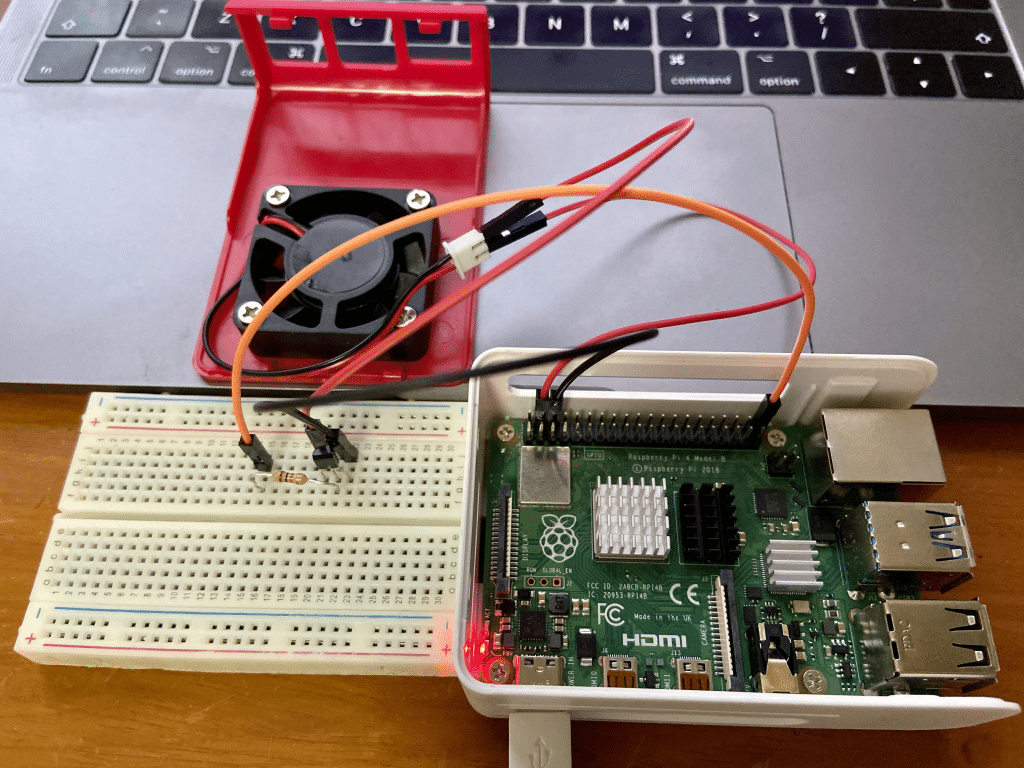
Wire Up
Notice the 3 pins for the transistor from left to right are E, B, C. Make sure the E is connected to the positive end (anode), B to the GPIO through a 1kΩ resistor, C to the GND of the Raspberry Pi.
Here is a good explanation of a transistor’s pins:

Code
We use Python to control the GPIO, and set the script to run after the Raspberry Pi system boot.
First, create a Python file in /home/pi/Scripts/, name as fan.py. We simply use the code for blink a LED from gpiozero package to control the GPIO, documentation: https://gpiozero.readthedocs.io/en/stable/index.html.
If you didn’t wire the jumper wires as I did, modify the GPIO accordingly. GPIO reference: https://fizzy.cc/notes-for-raspberry-pi/
#!/usr/bin/python
import sys
import time
from gpiozero import LED # doc: https://gpiozero.readthedocs.io/

# define the GPIO to control the transistor's B pin
fan = LED(21)

def cpu_temp():
    with open("/sys/class/thermal/thermal_zone0/temp", 'r') as f:
        return float(f.read())/1000


def main():
    # close fan at begining
    is_close = True
    fan.off()
    while True:
        temp = cpu_temp()
        if is_close:
            if temp > 55.0: # upper bound to turn on the fan
                print time.ctime(), temp, 'Fan ON'
                fan.on()
                is_close = False
        else:
            if temp < 48.0: # lower bound to turn off the fan
                print time.ctime(), temp, 'Fan OFF'
                fan.off()
                is_close = True

        time.sleep(2.0)
        print time.ctime(), temp


if __name__ == '__main__':
    main()
We can test it by execute python /home/pi/Scripts/fan.py, you can see the log in the terminal. Now the script is working, it will monitor the temperature of the CPU, then turn on/off the fan base on the threshold degrees we set. The only problem is we have to execute the command to run it every time we reboot the system.
You can create a bash alias for this execution command, but here I’m going to show you how to add this script as a service to your Raspberry Pi and make it running after every time we reboot.
Create a service file under /etc/init.d called fan, so the file path looks like /etc/init.d/fan, edit the file and paste the following:
#!/bin/bash
# /etc/init.d/fan

### BEGIN INIT INFO

# Provides:fan
# Required-Start:$remote_fs $syslog
# Required-Stop:$remote_fs $syslog
# Default-Start:2 3 4 5
# Default-Stop:0 1 6
# Short-Description: fan
# Description: Fan controller auto start after boot
### END INIT INFO

case "$1" in
    start)
        echo "Starting Fan"
        python /home/pi/Scripts/fan.py &
        ;;
    stop)
        echo "Stopping Fan"
        #killall ledblink.py
        kill $(ps aux | grep -m 1 'python /home/pi/Scripts/fan.py' | awk '{ print $2 }')
        ;;
    *)
        echo "Usage: service fan start|stop"
        exit 1
        ;;
esac
exit 0
Then we make it executable:
chmod +x /etc/init.d/fanUse the following command to control the fan service:
sudo service fan start # start the service
sudo service fan stop # stop the service
sudo service fan restart # restart the service
sudo service fan status # check service status
Make it running after reboot:
cd /etc/init.d/
sudo update-rc.d fan defaults 90  # 90 stands for priority, larger the number, later it will be executed

# use the following to remove the service
sudo update-rc.d fan remove
We can test whether it is added to the list:
sudo service --status-allFinally we need to reboot the Raspberry Pi to make the changes effective:
sudo rebootFurther Improvements
After finish the testing, you can solder things up and put them into the case to make it prettier. Moreover, you could try to use GPIO to output PMW to control the speed of the fan, ref: https://blog.csdn.net/r0ck_y0u/article/details/89498804.