The following notes are under the official Raspbian system.

Shutdown
Make sure you are shutting your Raspberry Pi down properly before powering it off. Type sudo halt and wait for the Pi to signal it is ready to be powered off by flashing the activity LED. This will protect your sd card as well (ref).
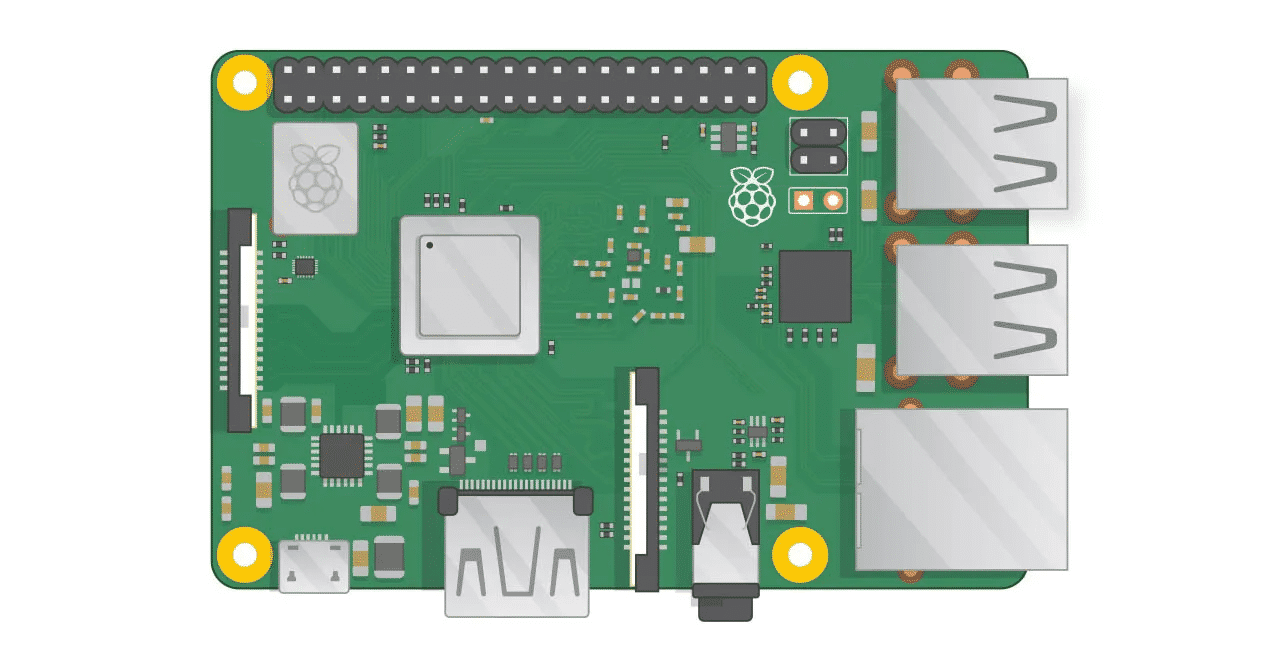
GPIO Reference
Use terminal command pinout to output a reference.


Enable SSH
The SSH server for Raspberry Pi by default isn't enabled. But it is quite easy to enable it:
- Launch
Raspberry Pi Configurationfrom thePreferencesmenu - Navigate to the
Interfacestab - Select
Enablednext toSSH - Click
OK
Alternatively, raspi-config can be used in the terminal:
- Enter
sudo raspi-configin a terminal window - Select
Interfacing Options - Navigate to and select
SSH - Choose
Yes - Select
Ok - Choose
Finish
Alternatively, use systemctl to start the service
When enabling SSH on a Pi that may be connected to the internet, you should change its default password to ensure that it remains secure.
Enable ROOT SSH Connection
After enabling the SSH server, you can connect to your Pi via SSH:
After figuring the SSH, we can also use SFTP tools such as FileZilla to manage the files on the Raspberry Pi from other devices.
Monitor CPU Temperature
There are several way to get the temperature of CPU:
To continuously monitor the temperature of the CPU, save the first command into a file name monitor-temp.sh.
Create Python file monitor-temp.py by issuing following command:
Use
nano monitor-temp.pyto create Python file, useCtl+Xand thenYto save that file
This script issues the command/opt/vc/bin/vcgencmd measure_tempevery second and print the formatted temperature in the console.
Now by running python monitor-temp.py you can monitor the CPU Temperature every second. Further, we can also use this feature to turn on the cooling fan when CPU temperature is too high, details: Temperature Controlled Fan for Raspberry Pi 4
Change apt Sources in Mainland China
The official apt source the Raspbian uses can be extremely slow in mainland China, follow this guide to change the sources for apt:
Raspbian | 镜像站使用帮助 | 清华大学开源软件镜像站 | Tsinghua Open Source Mirror
Remember to backup two lists before editing them. Use
sudo cp <original-file-path> <backup-file-path>to backup files.
Install Chinese Keyboards
Then go to Preferences -> iBus Preferences, add keyboards from there.
Install Autojump
On Debian-based distros, manual activation is required. Add the following line to ~/.bashrc (for Bash) or ~/.zshrc (if you use zsh):
